PG03 MiniGPS and tracking recorder
First version : 24.04.2014
I have just retrieved a small gps buy from ebay, called Mini GPS (enf pg03), cost around 20€ …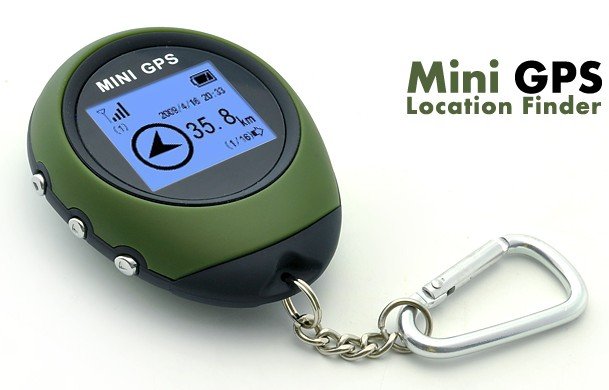 It is a small size and portable GPS receiver with data collecting and calculating functions. It also provides indication of geograpic coordinates, directions, world time, distance, milage, and velocity information. Its high-sensitive direction indication guide user to go back original departure position or go to the presetted target position. The unit shows clear travelling date in detail, such as, the direction of the target position, distance, satellite time, and velocity information in usage.
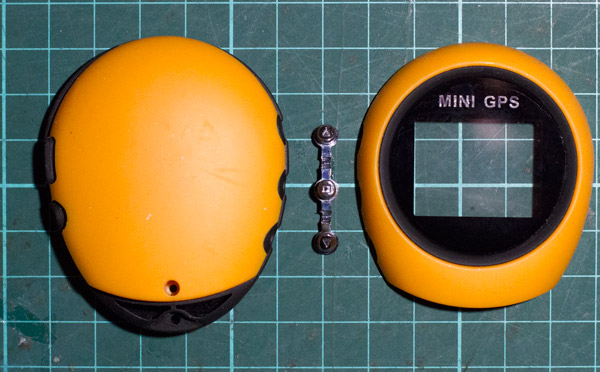
This small unit do not provide to record tracking informations … so, start to disassemble it, in the goal to record NMEA sentence.
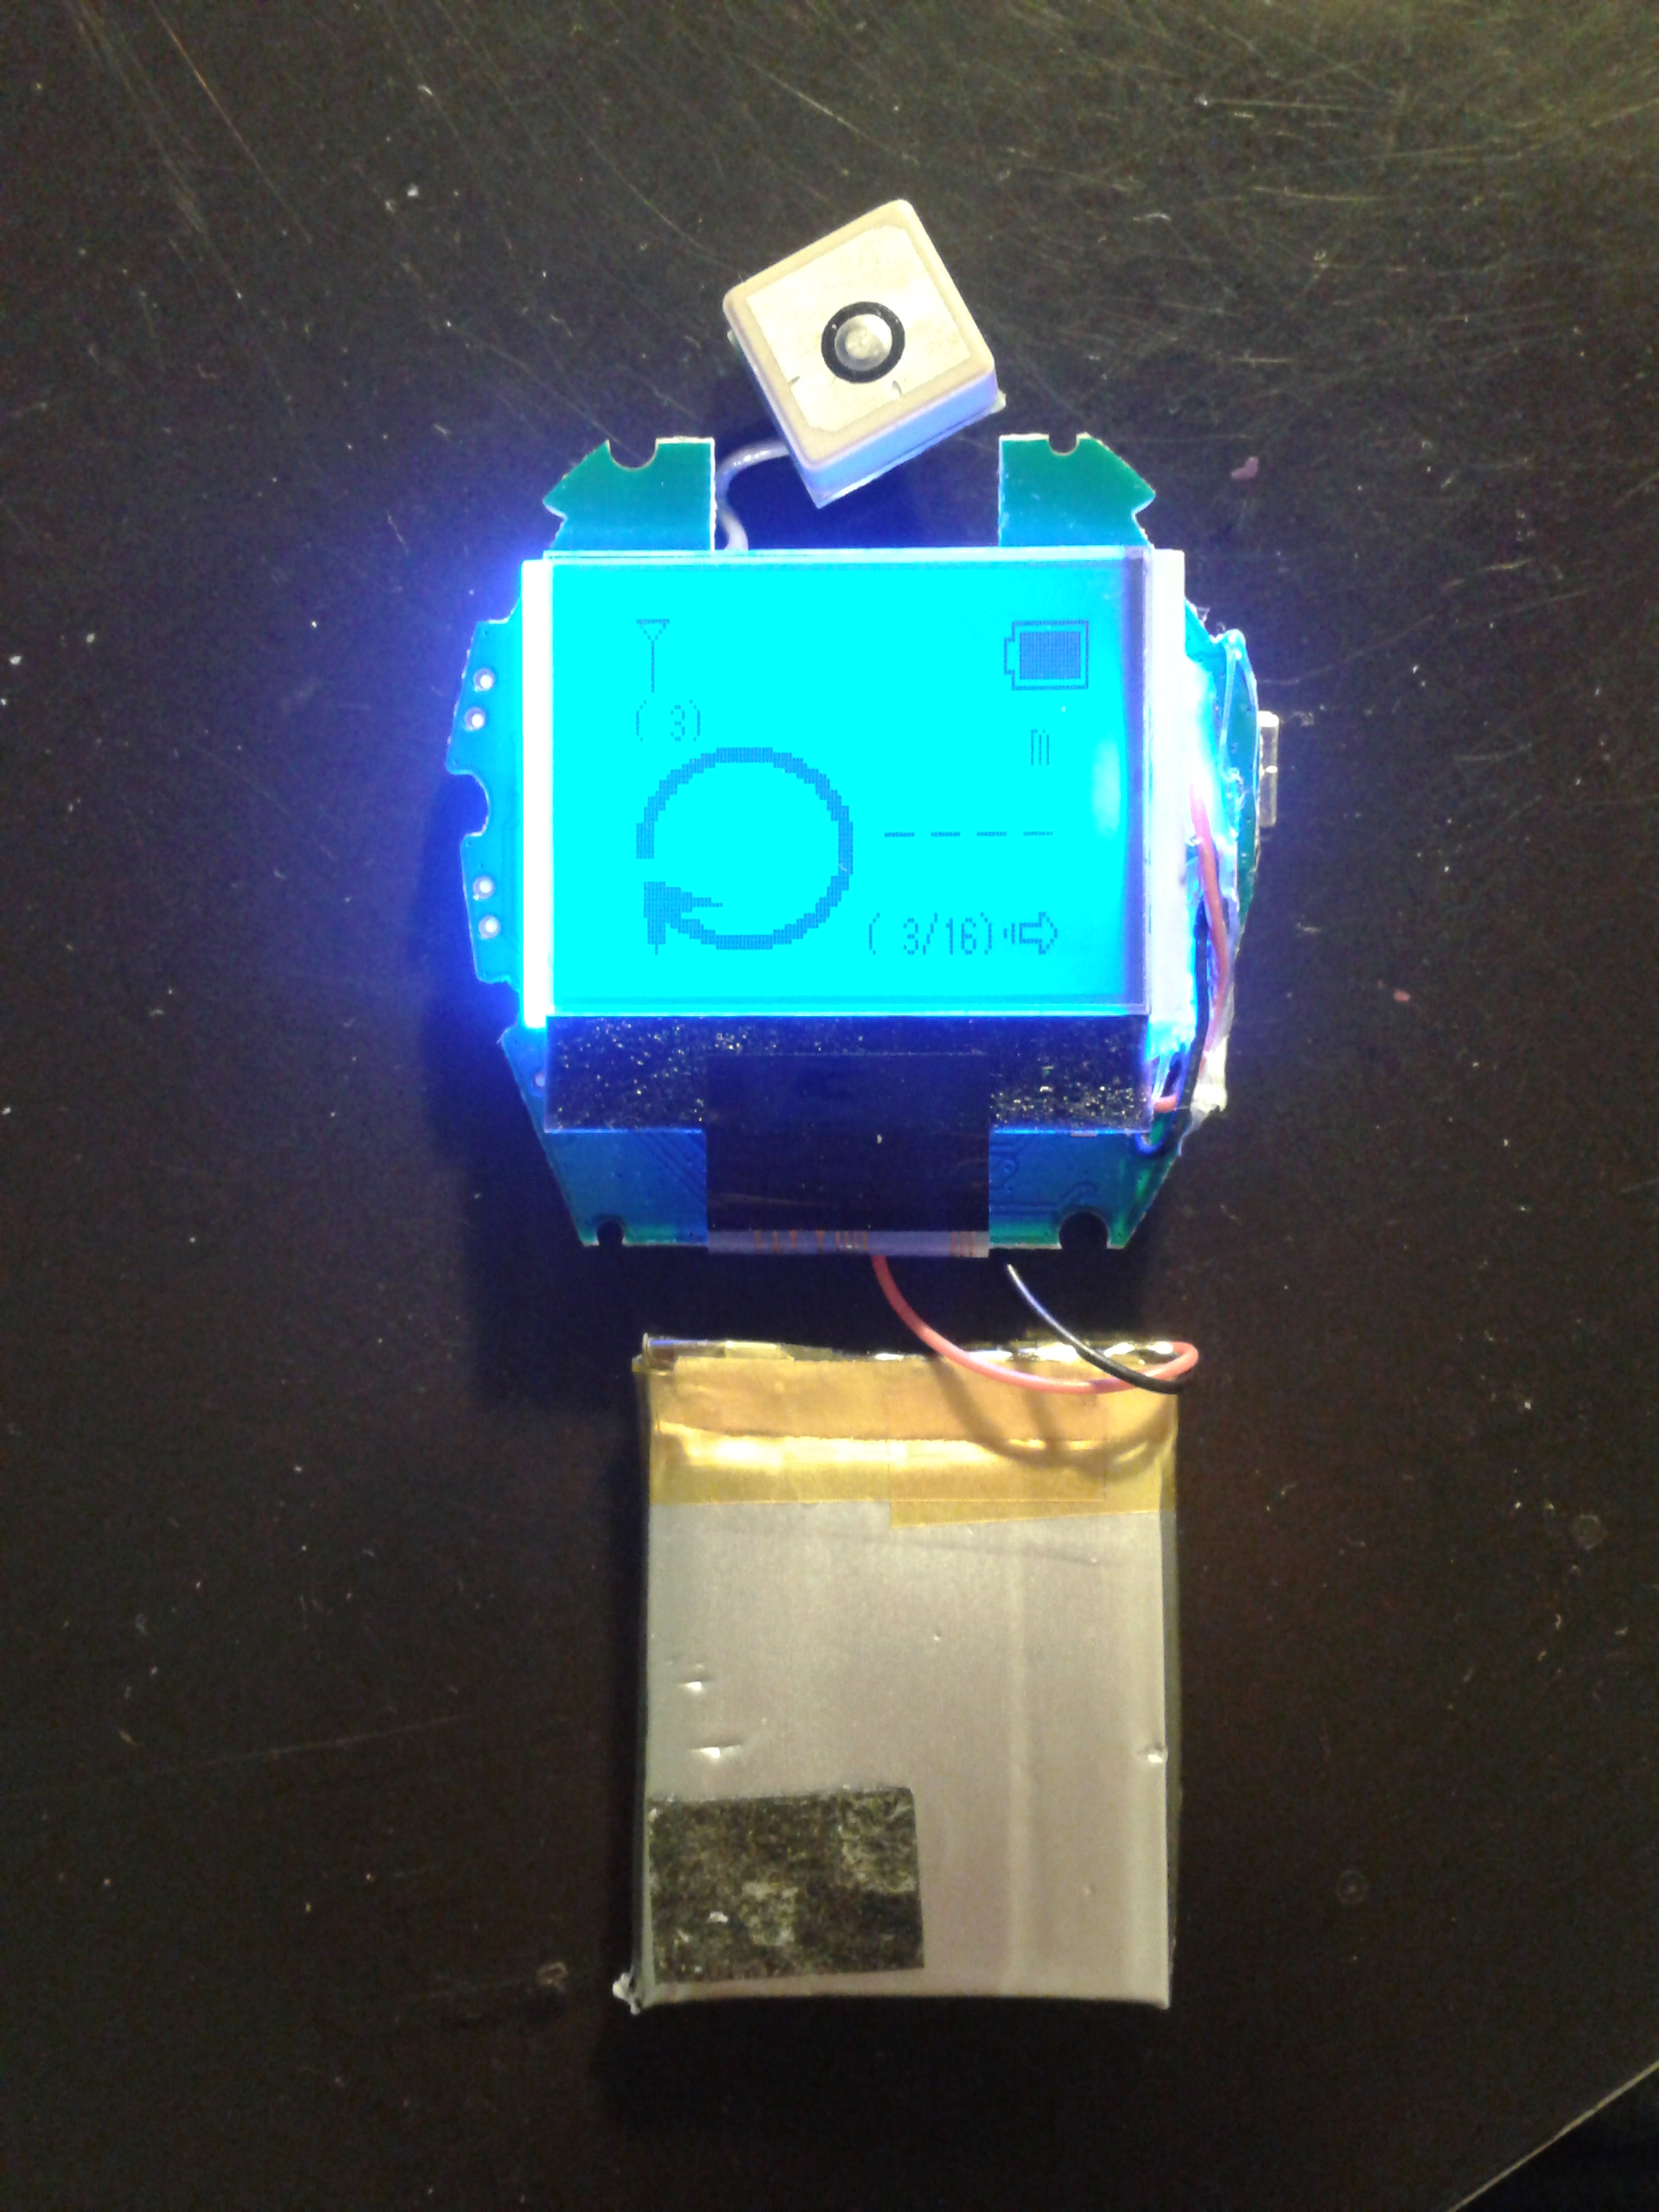 – Catch NMEA output:
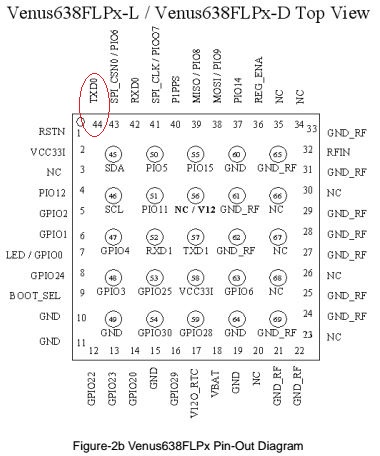
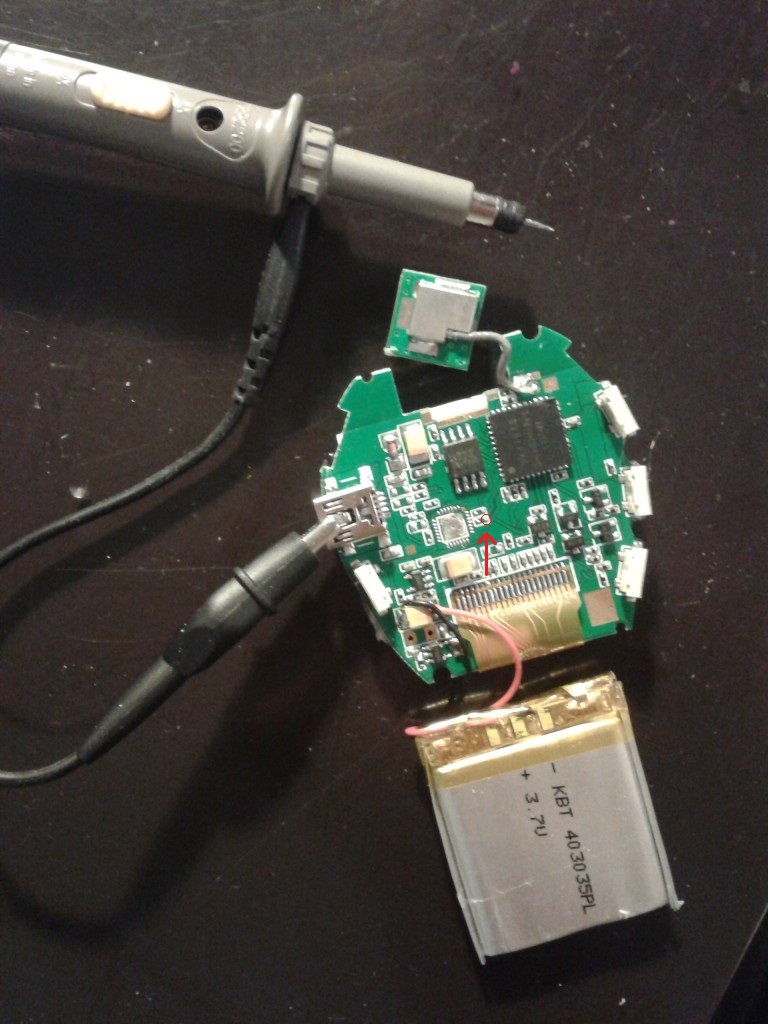
The unit run with a Venus638FLP GPS chip, find the pin N°44, it’s an output of the
asynchronous UART port, solder a small part of wire on this pin, or follow the
track to the « test point« .

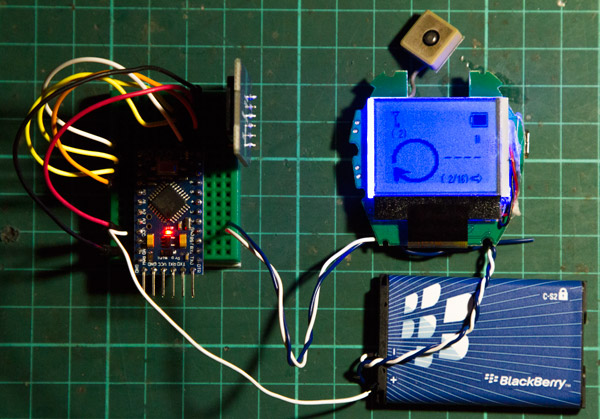
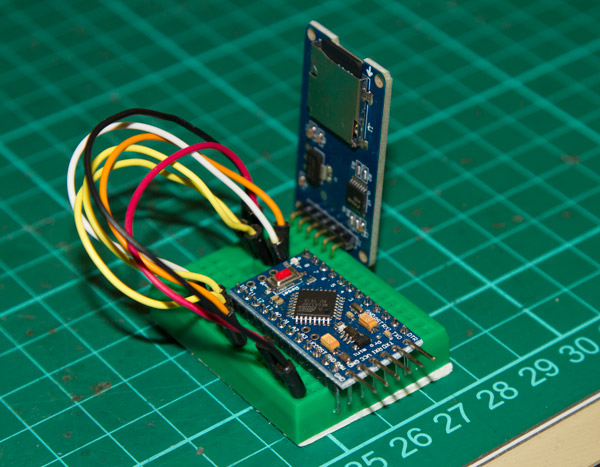
– Hardware:
For the tests i have used a classic Arduino Pro Mini, fast and easy to use with her USB/FT232 integrated, also you can support Hackaday with a Trinket Pro 🙂
You need a SDCard shield to ensure recording the data from NMEA sentences, to avoid loss of data, I prefer use microSD shields with level translator like this one from Adafruit, or from Catalex (ebay).
– Connect to Arduino:
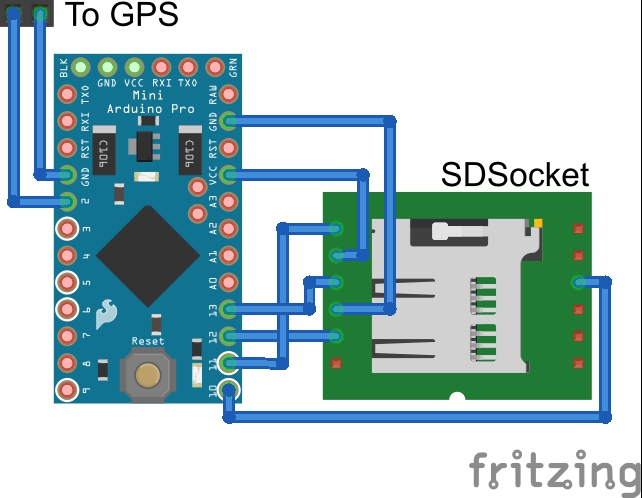 GND to GND
VCC to RAW (SDcard run under 3.3v)
MISO to Pin 12
MOSI to Pin 11
SCK to Pin 13
CS to Pin 10
GND to GPS
Pin 2 (Arduino) to Pin 44 (GPS)
– Power:
Take 3.7v from the GPS unit to power your Arduino and SDCard Shield, the original batterie is too small, i have change it by a more larger batterie from a cellphone (1400mha), the power consomption is around 60ma.
– TinyGPS librarie:
Download the sketch, Sketch_TinyGPS_SDCard, ensures you have TinyGPS librarie
SD, and SoftwareSerial into your /libraries folder of your Arduino install.
In the code you can see:
//////////////////////////////////////////////////////////////////////////////////////////////
SoftwareSerial nss(2, 0); // GPS Wire to Pin 2
void setup()
{
Serial.begin(57600);
nss.begin(9600); // Baudrate of Venus638FLP is 9600
Serial.println(« Reading GPS »);
/////////////////////////////////////////////////////////////////////////////////////////////
In the line 56 you can choice what you want to log:
/////// Get and process GPS Data ///////
void gpsdump(TinyGPS &gps)
{
float flat, flon; // Lat, Long
float fkmph = gps.f_speed_kmph(); // Speed in km/hr
float falt = gps.f_altitude(); // +/- altitude in meters (seem to be elevation, in fact)
float fc = gps.f_course(); // Course in degrees
unsigned long age;
gps.f_get_position(&flat, &flon, &age);
Serial.print( » lat « );
Serial.print(flat, 4);
Serial.print( » lon « );
Serial.print(flon, 4);
Serial.print( » kms « );
Serial.print(fkmph);
Serial.print( » course « );
Serial.print(fc);
Serial.print( » elevation « );
Serial.println(falt);
/////////////////////////////////////////////////////////////////////////////////////////////
Upload the sketch, put a micro sd card in the shield (FAT32), ensure you have a log.txt file in root, run the SerialMonitor, you can see the data writed on the SDCard.
 You can use prototyp board to solder all of elements and put them in a nice small box.
(todo photo serialmonitor)
Hello j3tstream!
I’m very interested to your article « EFN PG03 MINIGPS HACK’S », could you give us some more informations about the hack?
Which are the steps to record the GPS position to an SD card knowing about the pin number 44?
Thank you.
—
Giova
sound easy
-take the signal from gps (pin44)
-connect this to pin 2 of your arduino (or 10, Rx pin)
-load SoftwareSerial.h library
-set the data rate, default is 4800 but i don’t know about PG03 GPS, maybe 9600, you need to do some test …
-load the code on your arduino and run the SerialMonitor, you will see the NMEA GPS sentences
-look this tutorial from adafruit, in case you want to record the tracks
-tell me back if work’s!
Hello Giovani,
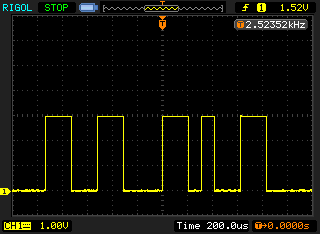
I have just tested right now with a Arduino Nano, and it’s work fine, i got the trames in serial monitor, and the baudrate is 9600b
$GPGGA,195028.000,2400.0000,N,12100.0000,E,0,00,0.0,0.0,M,0.0,M,,0000*6E
$GPGSA,A,1,,,,,,,,,,,,,0.0,0.0,0.0*30
$GPGSV,1,1,01,12,00,000,28*41
$GPRMC,195028.000,V,2400.0000,N,12100.0000,E,0000.0,000.0,140115,,,N*45
$GPVTG,000.0,T,,M,0000.0,N,00000.0,K,N*32
So you can select what you want from fields: $GPGGA, $GPGSA, $GPGSV, $GPRMC, $GPVTG
J3tstream, thanks for the feedback, i’ll try it too with my arduino in the next days.
My goal is to use this little gps also as offline-tracker instrument for free flight (paragliding). Do you think it’s simple to avoid the usage of an arduino board and to save gps informations on a sd card using some smaller circuit, maybe using the PG03 battery power too?
I know, it’s a big project and i for sure i haven’t the know-how to do it.
Thanks for your time.
[…] Twenty Euros will score you a small, self-contained GPS keychain. Crack that case open and you can have a lot more. [j3tstream] explored the guts of the thing and found that the NMEA data can be streamed out of the TX pin on the GPS chip. […]
There are some dev boards, but more importantly Venus setup programs here:
http://navspark.mybigcommerce.com/development-boards/
You forgot to #include SPI.h
Well, you should have anyway.
Older versions of Arduino apparently didn’t require this.
[…] TO Greek user: Αυτό που δεν κάνει είναι καταγραφή δεδομένων. Αν μπούμε στο εσωτερικό του θα βρούμε ένα GPS chip που στο pin 44 βρίσκεται ένα UART port. Συνδέστε το με ένα Arduino και θα σας προσφέρει απλόχερα τα δεδομένα του. Προσθέστε και ένα SD card module και κρατήστε log με τις συντεταγμένες σας. Για πληροφορίες, οδηγίες και πηγαίο κώδικα σχετικά με αυτό το setup μπορείτε να βρείτε εδώ. […]
do this device use only one cpu – venus638 on it has main CPU and venus638 onle for gps?
that a good question, i didn’t see any lcd controler on the board, only venus and 25vf080b memory chip
looking the datasheet venus chip didn’t provide lcd displaying
is it possible to get GPX data from USB port?
hello frenchy limawal, i have just checked out, the usb port is only here to charge the batterie, the data bus is not wired
there is an unpopulated serial to USB on these http://www.smokingresistor.com/wp-content/uploads/2012/03/Venus638FLPx_EVB.jpg of the development board that uses a SILABS CP2102 serial to USB port its also got a 25L1605D 16Mb spi flash attached be interesting to get a dump of its contents it uses a leon 2 risc processor so you could probably do it all in the module rather than an externally connected arduino. If you soldered on a CP2102 you would most probably get the nema over serial/usb